Digital Cameras
Downloading Pictures to your Computer:
If your computer's operating system
uses Windows XP, there is no need to install software. You only need to hook up
the camera to the computer and allow the computer to install it for you (See the
instructions below). If your computer uses Windows 98, contact one of your
building's Tech Support personal.
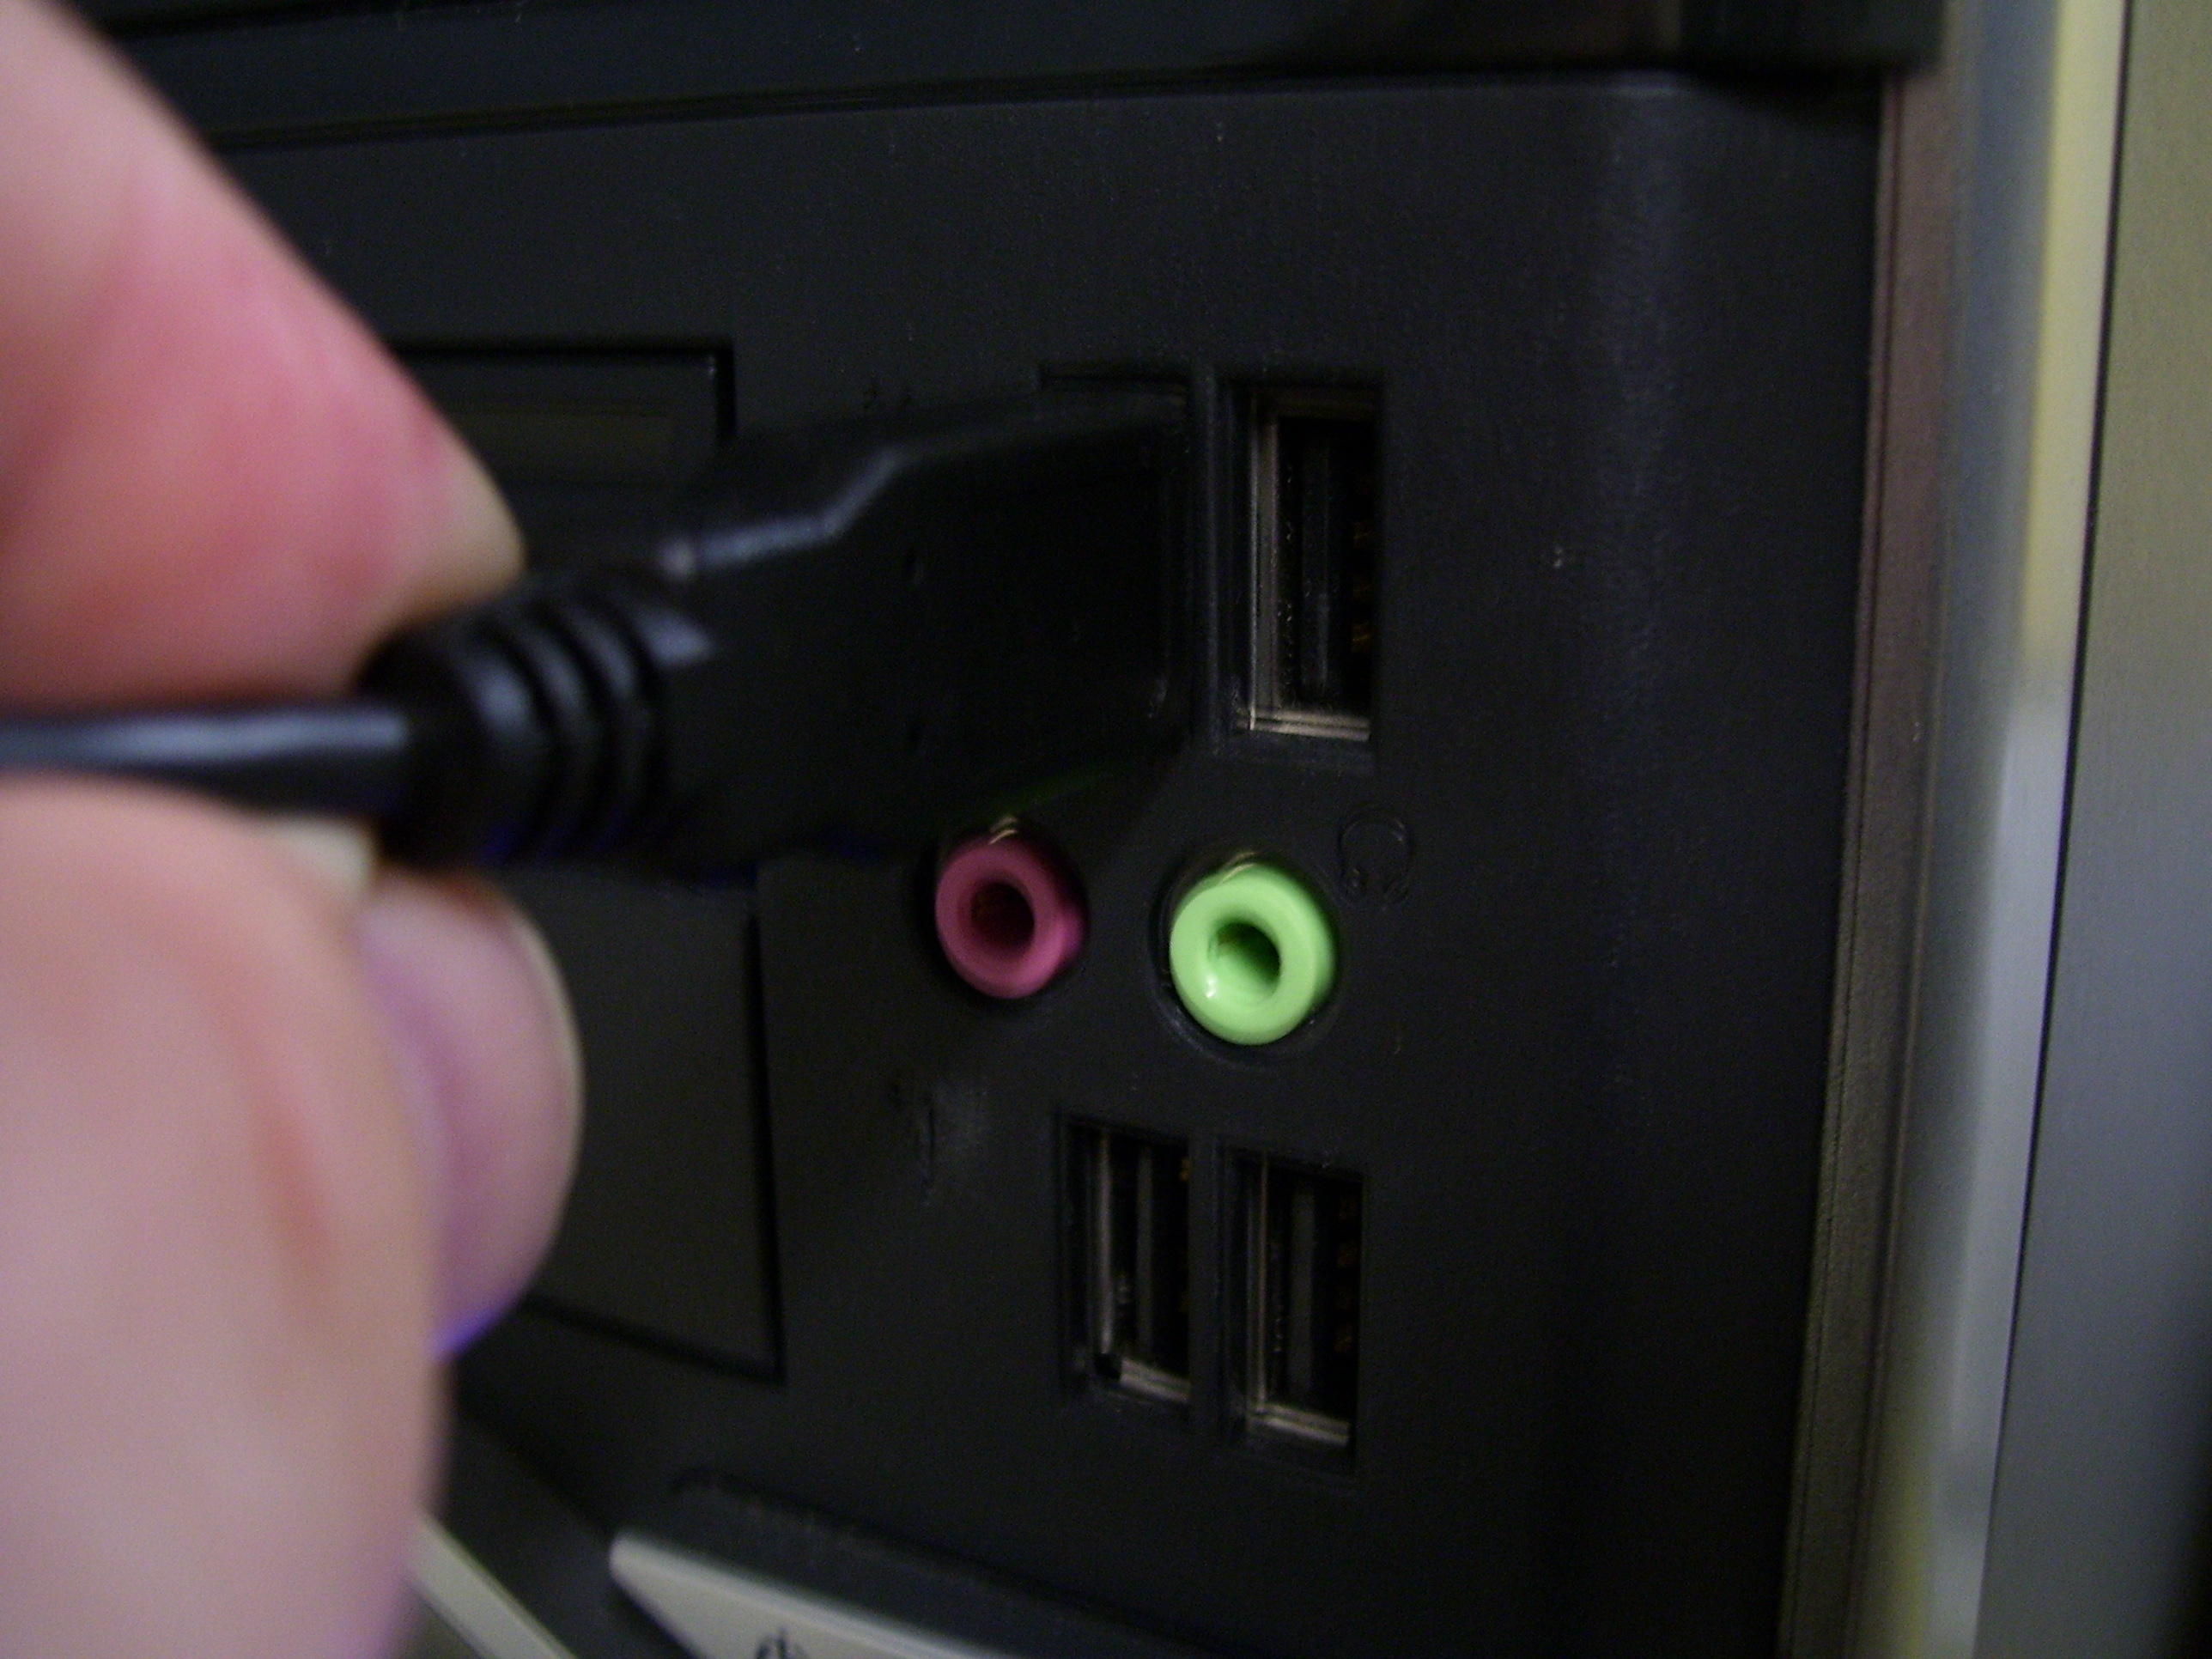
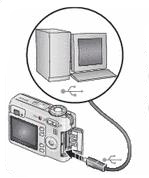
1.) Turn off the camera. Insert the USB cable into your computer's USB port which can be found either on the front or back of the computer.

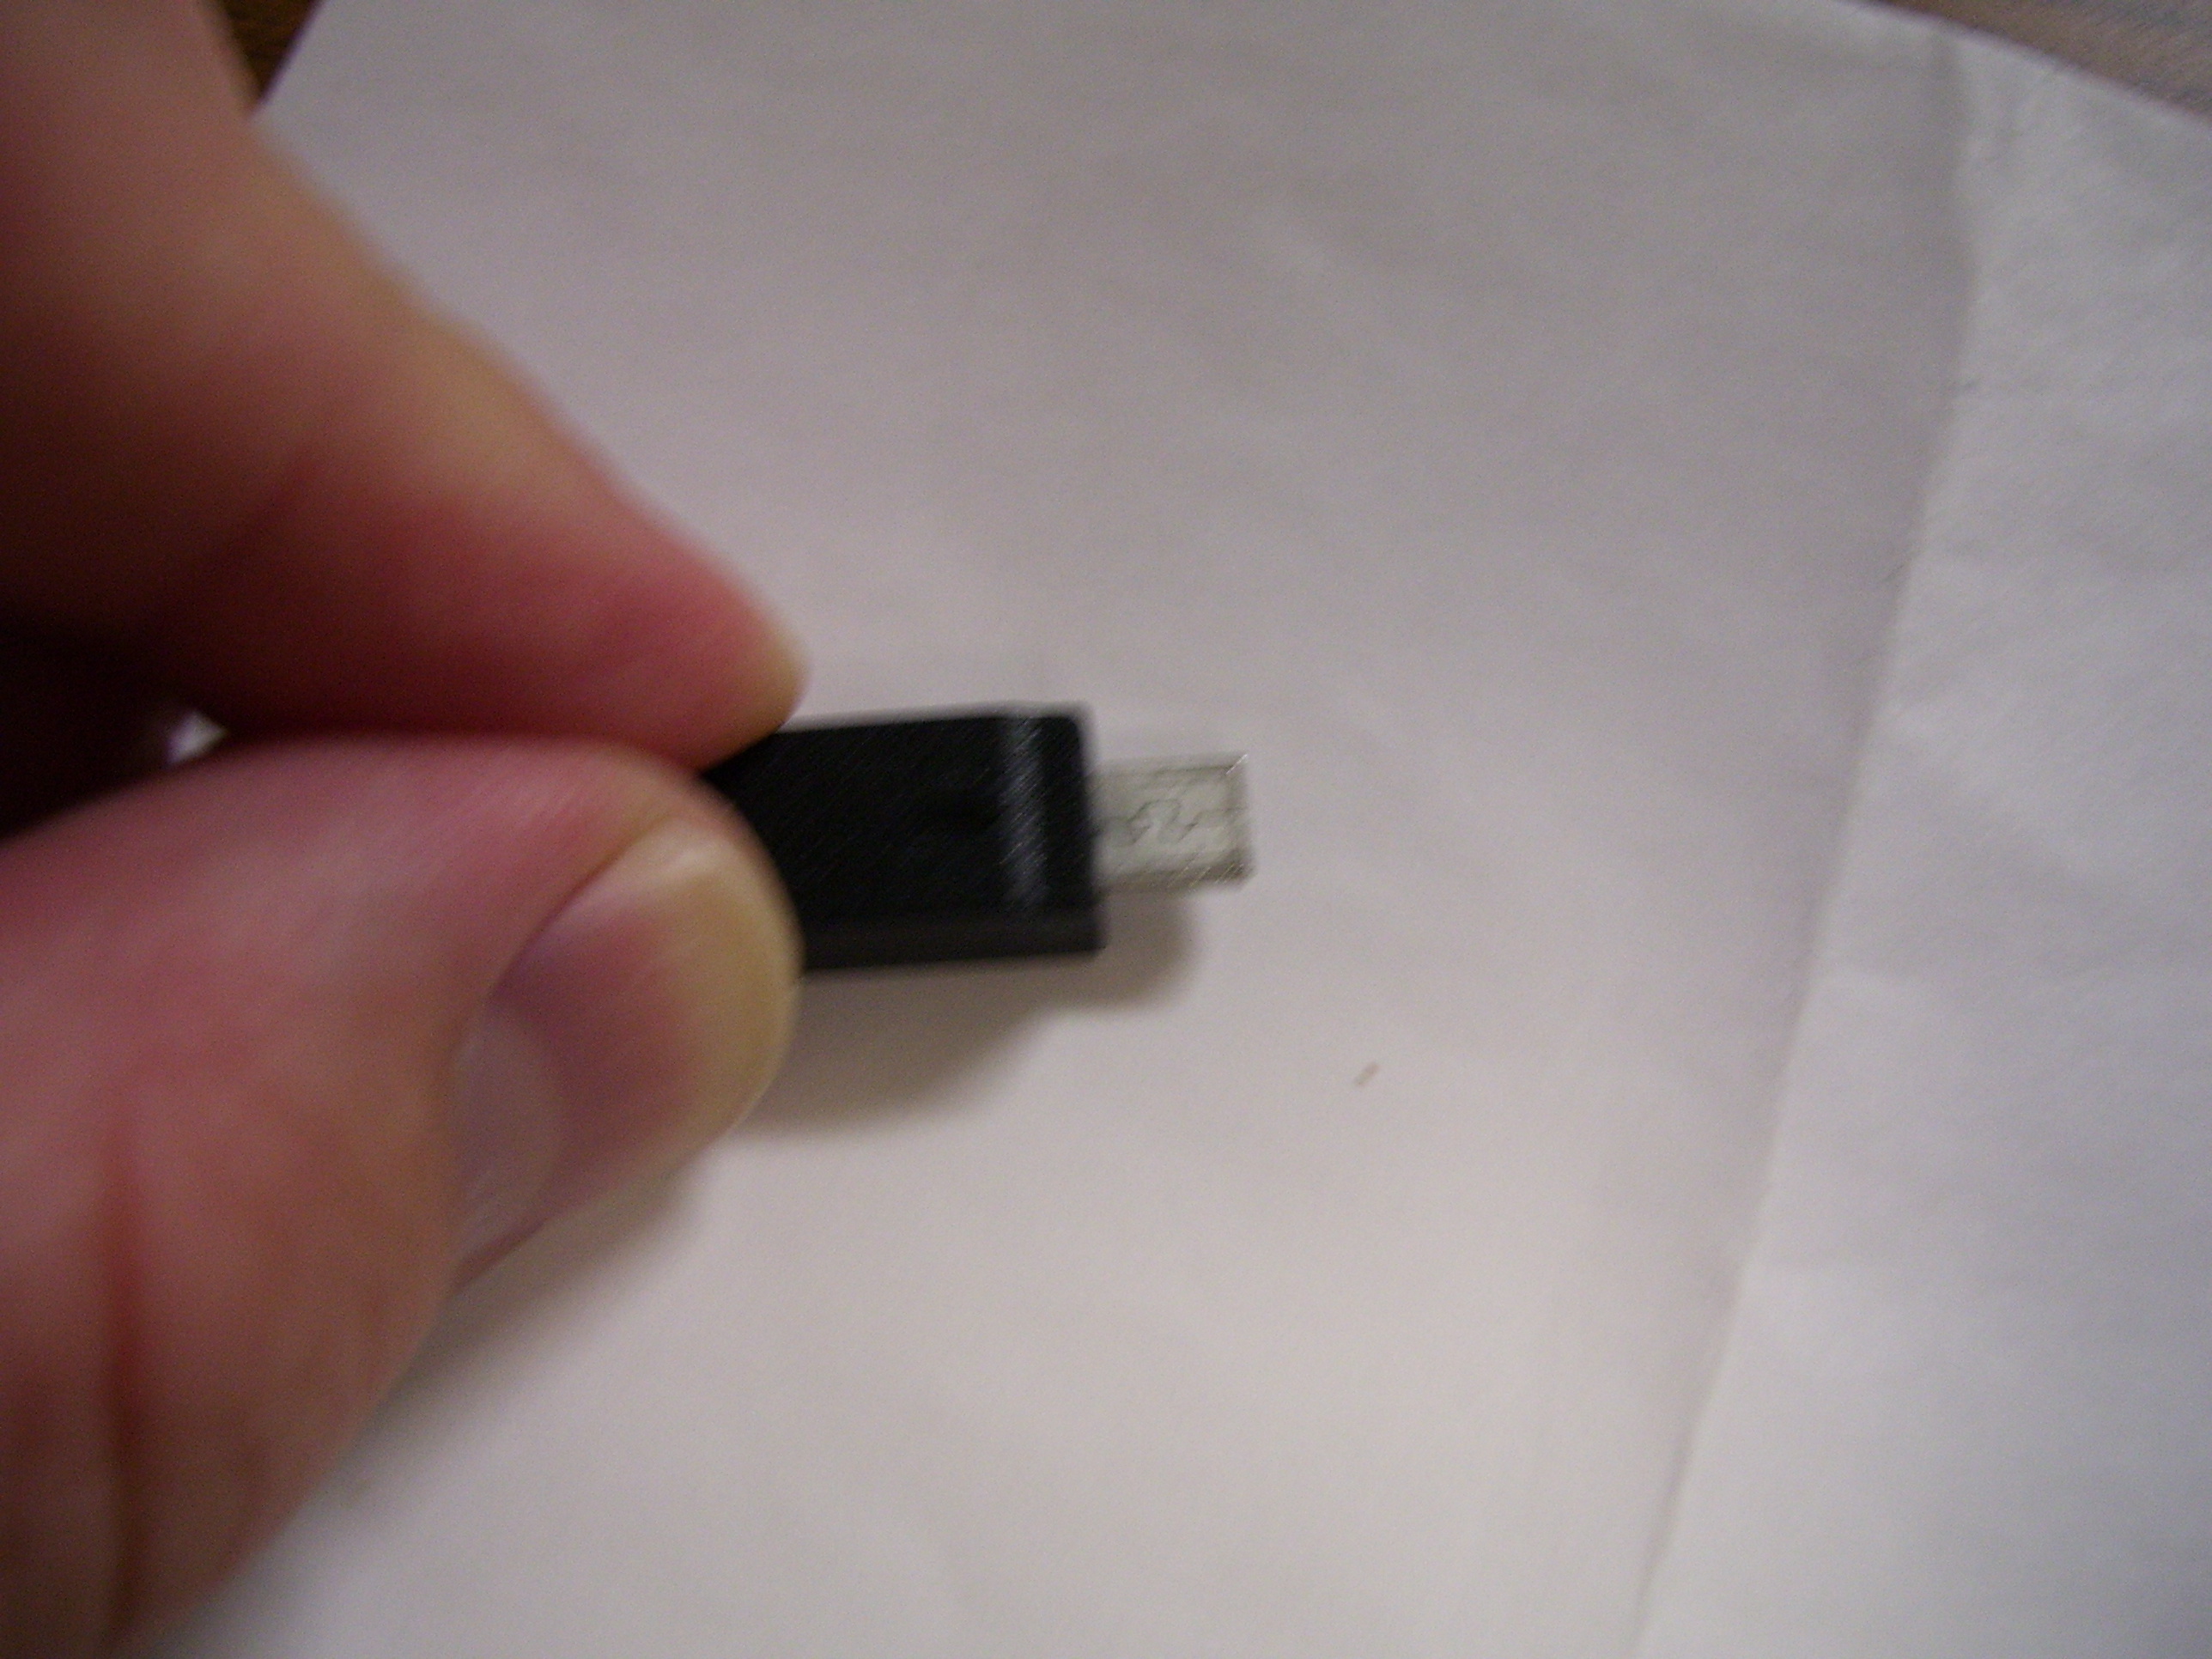
2.) Insert the other end of the USB cable into the camera
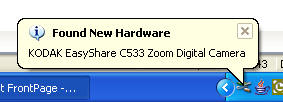
3.) Turn on the Camera to Auto. The computer will load the camera for you.
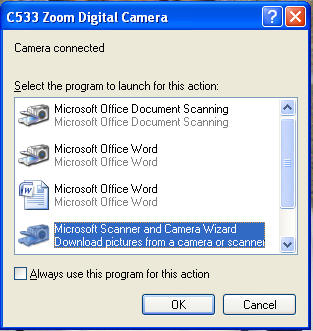
4.) Then the Camera Wizard will appear. Choose the Scanner and Camera Wizard. Click the OK button.
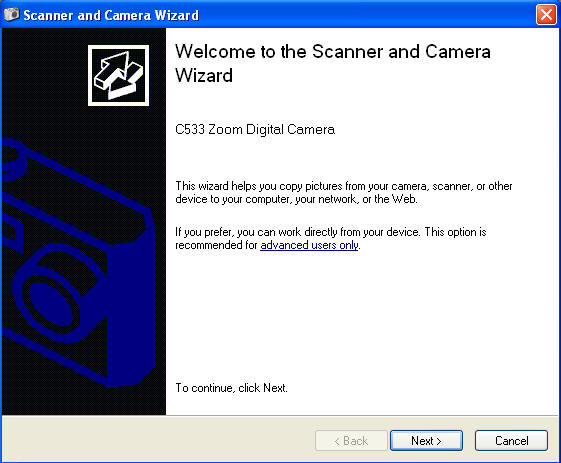
5.) Click the Next button.
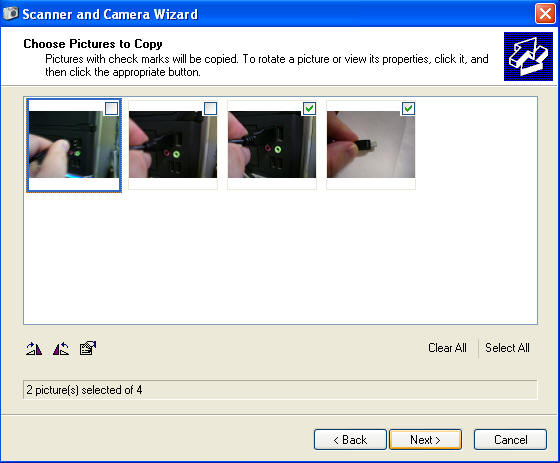
6.) Choose the pictures you want to download by placing a check mark next to the picture. Then Click on the Next button.
7.) Name the folder for the pictures to be downloaded to and choose where to place that folder. The default location will be in My Documents\My Pictures. Choose the Delete Pictures to remove the pictures from the camera for the next user. Click the Next button.
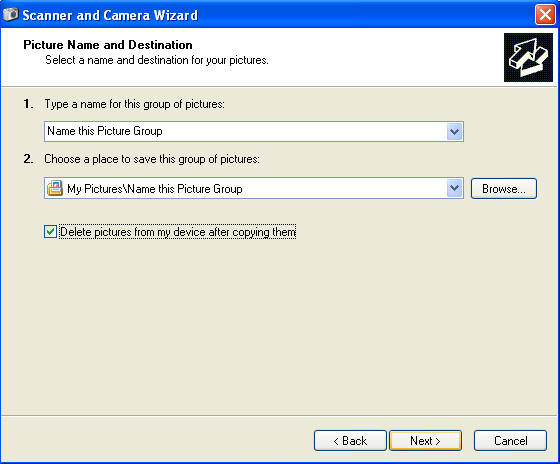
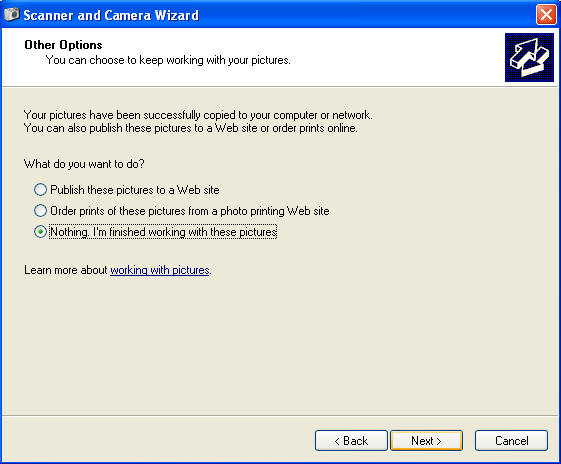
8.) Pictures are then downloaded and other options will be given. Choose "Nothing - I'm Finished" and click the Next button. Then click the Finish button and the folder of downloaded pictures will appear.
